
Install Local
This guide is for building SharpMUSH from source, which is what you want if you intend to modify the hardcode or contribute to the project. If you only want to run a game, the Docker quick start is faster and needs no toolchain.
Install from Source
Section titled “Install from Source”Prerequisites
Section titled “Prerequisites”- .NET 10 SDK to build and test the application.
- Docker to run the database and messaging containers the server depends on.
- Visual Studio or Jetbrains Rider to build the application.
-
Clone the repository from GitHub.
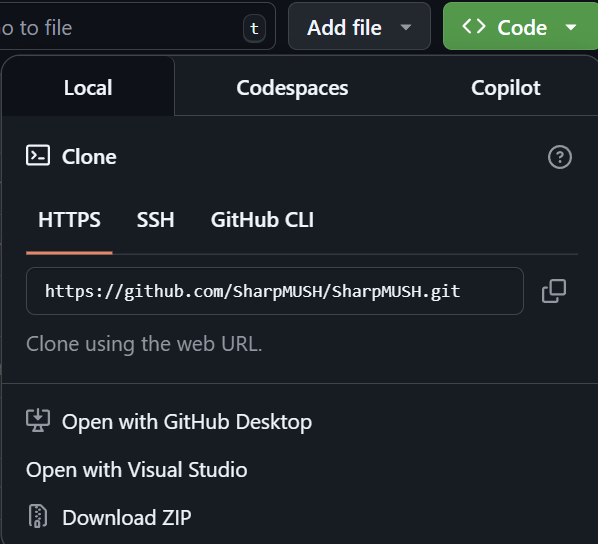
Open with Visual Studio, or if you have git installed:
Terminal window git clone https://github.com/SharpMUSH/SharpMUSH.git -
Open the SharpMUSH solution.
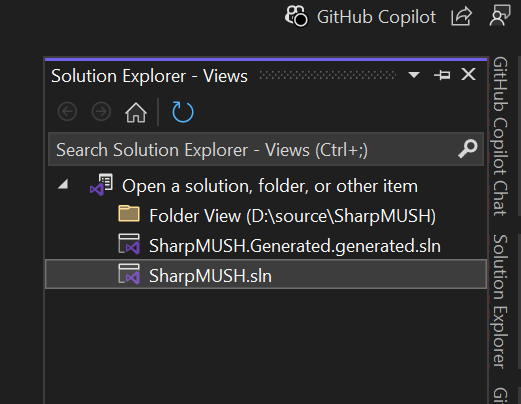
-
Build the Solution.
Ensure that the SharpMUSH.Server project is selected as the startup project.

Press F6 to build the solution.
-
Start SharpMUSH!
Press Ctrl-F5 to start the application in non-debug mode.
An output window will appear and show where to connect.
Without an IDE
Section titled “Without an IDE”The solution builds and tests from the command line with the .NET SDK alone:
git clone https://github.com/SharpMUSH/SharpMUSH.gitcd SharpMUSHdotnet builddotnet testdotnet run --project SharpMUSH.ServerThe test suite uses Testcontainers, so Docker must be running before
dotnet test.
Next steps
Section titled “Next steps”Once the server is up, the web portal walks you through first-run setup and is where you will spend most of your administration time.